


Marketing automation is a timesaver, and when it promises a potential increase in engagement and revenue, it’s like a cherry on top. You can achieve this by connecting your Customer Relationship Management (CRM) tool with your email marketing system.
Today, we’ll share how to use Zapier and Sender to automate lead nurturing through your CRM solution. Let’s get to it!
Why Should You Connect Your Email Marketing Tool with CRM?
You’re juggling several tasks as a business owner every day. Manually updating your email marketing solution with new contacts should never be something you should be spending time on.
You can scale your marketing plans effortlessly once you connect the email marketing tool with your CRM. Here are some of the benefits:
- Improved productivity.
You’ll save time spent on contact management. Your new contacts in CRM will automatically be synced with your email marketing tool. It also reduces the chances of human errors and keeps your lists constantly updated. - Automatic nurturing.
Once you connect both systems, all your fresh contacts can automatically be put on a lead nurturing sequence. They’ll start receiving educational content, product updates, and promotional offers, keeping your leads warm and engaged. - One-click bulk campaigns.
You can reach all your contacts with one email blast whenever you announce a product update or a special sale. There is no need to schedule emails manually, which will maximize the impact with minimal effort.
Imagine how much time you’ll save weekly once you connect your email and CRM solution. Let’s look at how you can do it using Zapier.
Tutorial: How Do You Sync Your CRM with Sender Using Zapier?
Connecting your CRM with Sender is easy using Zapier. You need to set it up once, and you’re all set for life. Here’s how to do it in 4 simple steps:
Step 1. Pick Your CRM Solution
Choose your CRM solution before anything else. Here are the top CRM solutions you can automatically sync with Sender:
- Salesforce. It’s used by large companies and is known for its comprehensive features and scalability. Salesforce is ideal for businesses seeking extensive customization.
- Pipedrive. A user-friendly CRM designed for sales pipeline management and automation, perfect for sales teams looking to streamline processes.
- Zoho CRM. An affordable CRM solution with a wide range of integrations, ideal for small to medium-sized businesses aiming for flexibility and efficiency.
Let’s pick Salesforce as our CRM for this tutorial.
Did you know that Sender integrates directly with many other tools using Zapier?
Explore different solutions you can connect to Sender’s now.
Step 2. Choose a Trigger
A trigger is an event that starts a workflow within another app. For this integration, we’ll use the following zap.

This zap will add a subscriber to a group in Sender every time a New Contact is Added to CRM. Also, new signups/subscribers will be added directly to Sender whenever someone fills out a signup form on your website.
Here’s how to set up this trigger:
- Log in to Zapier and connect Salesforce and Sender;
- Create a new Zap and select Salesforce CRM as the trigger app;
- Choose the “New Contact” as the trigger and the new/existing subscriber group as the action;
- Test the workflow to ensure it works.
Step 3. Craft Your Emails
Now, it’s time to create an email for your CRM contacts. Use Sender’s drag-and-drop builder to create a responsive email design that suits your goals.
- Go to email campaigns and create a new campaign;
- Write the subject line, preview text, and other details;
- Use the drag-and-drop builder to design your email. Customize the design using pre-designed blocks or use a responsive template
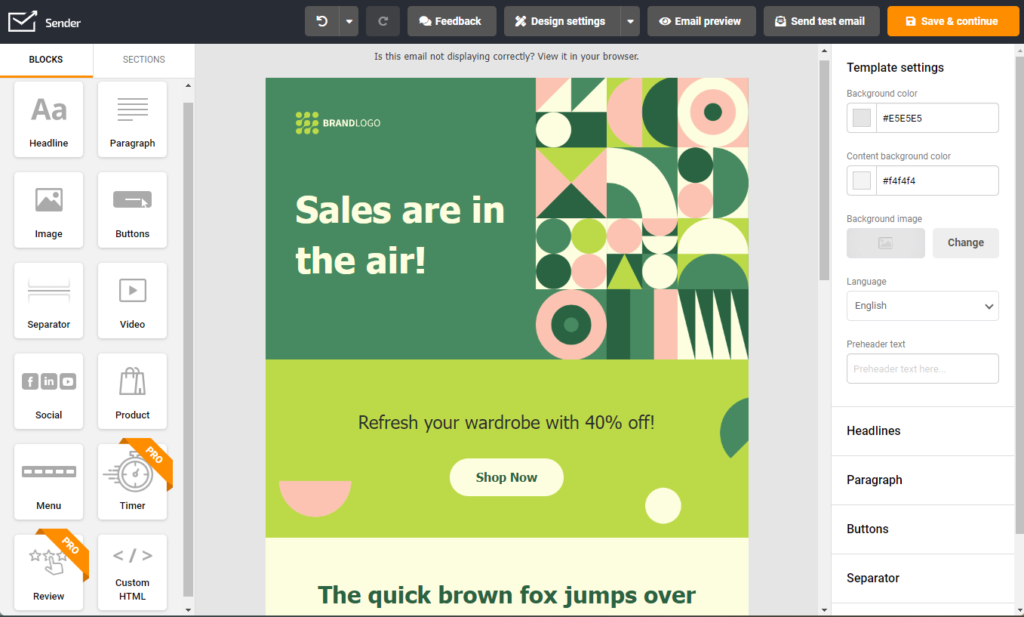
- Once you’re happy, save your email as a template for your automation.
Note: You can create an email in advance and save it as a template, as we explained in this step, or create the email when setting up the automation (Step 4).
Step 4. Set Up Automation
The final step is to set up an automation that automatically sends an email/drip campaign whenever someone’s added to a subscriber group. Here’s how to do that:
- Create a new automation and pick ‘Subscriber joins a group’ as your automation trigger

2. Add an email step in the visual automation builder to send a welcome email as soon as someone joins the group (or gets added to CRM).
3. Create this email using the drag-and-drop builder or select the saved template (Step 3).
4. Add a delay step for five days.

5. Add another email action to set up the second email in the welcome series.
6. Once you’re happy, activate the automation.
Every time you add a contact to your CRM, it automatically triggers a welcome email, followed by another email after five days. You can add unlimited emails to this drip campaign based on your lead nurturing process or marketing goals.
That’s it. You’ve successfully set up an automatic system that saves you time and starts engaging with new prospects and clients as soon as you enter your CRM.


